Microsoft has made some helpful updates to their video storage and streaming service Stream which has made it possible to create and share screen recordings with or without webcam videos. Here are some of the key features
No need to download any software. Simply record directly from a browser like Google Chrome.
Records your screen, audio, and your webcam.
Stores files in OneDrive. Videos are ready as soon as your are done recording.
Can have captions automatically generated with a transcript.
Can add chapters to make it easier to find sections of the video.
Can be embedded in a Blackboard page.
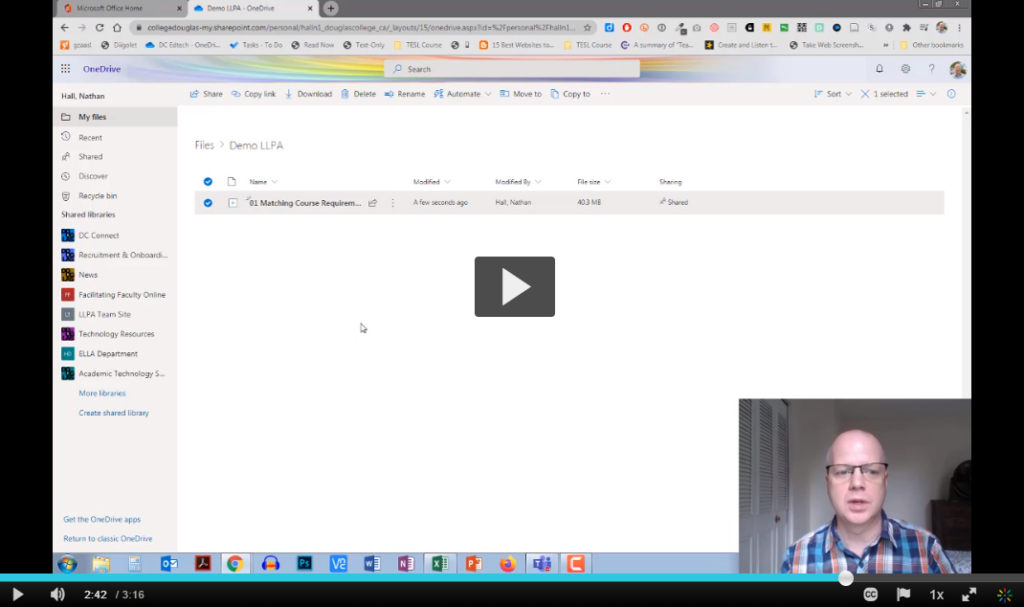
I find this tool really useful for giving video guidance to people who email with me questions that are easier to demonstrate than to give written instructions. I simply do a quick recording, grab the share link, and paste it in an email.
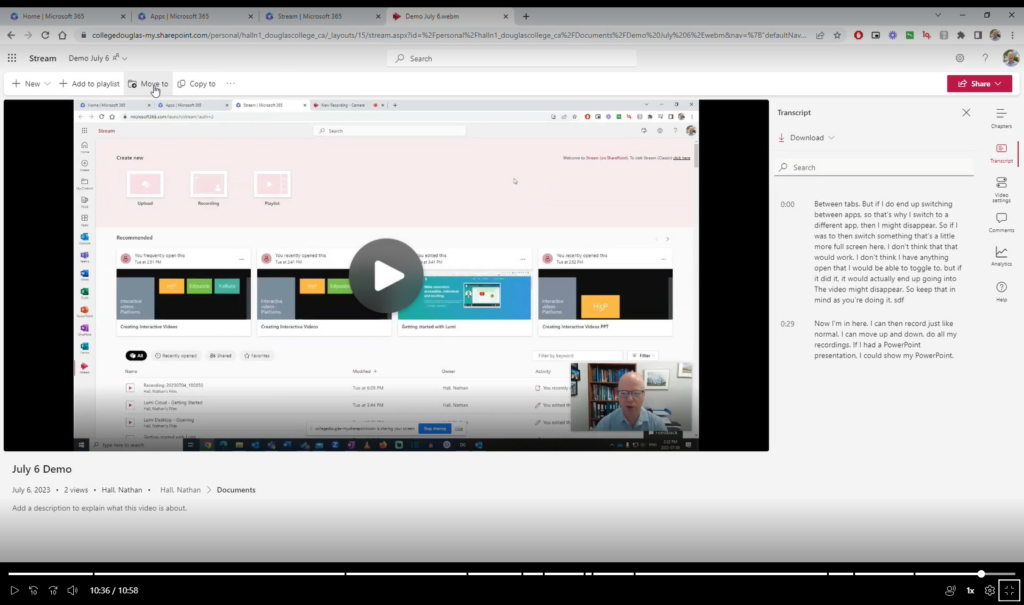
Here is a video on how to use it. You can also use the chapters to skip around.
What’s your Take on AI? is a Douglas Educational Support Community initiative spotlighting Douglas College instructors and their thoughts on Generative AI. The views of the instructors are their own and do not necessarily represent their department, faculty, or the institution as a whole.
The goal of the series is to share perspectives and to put the conversation of generative ai, and both its real and perceived impacts, into the open.
WYTAI Episode 01: Jill Fellows, Philosophy Instructor at Douglas College
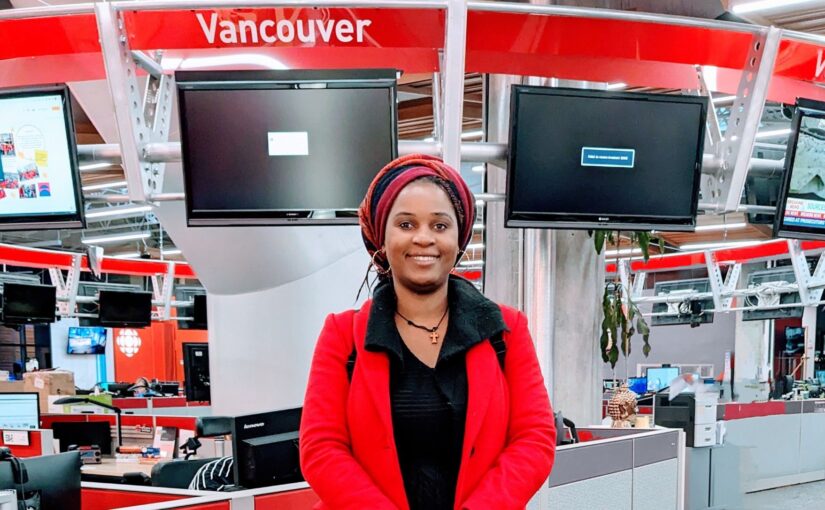
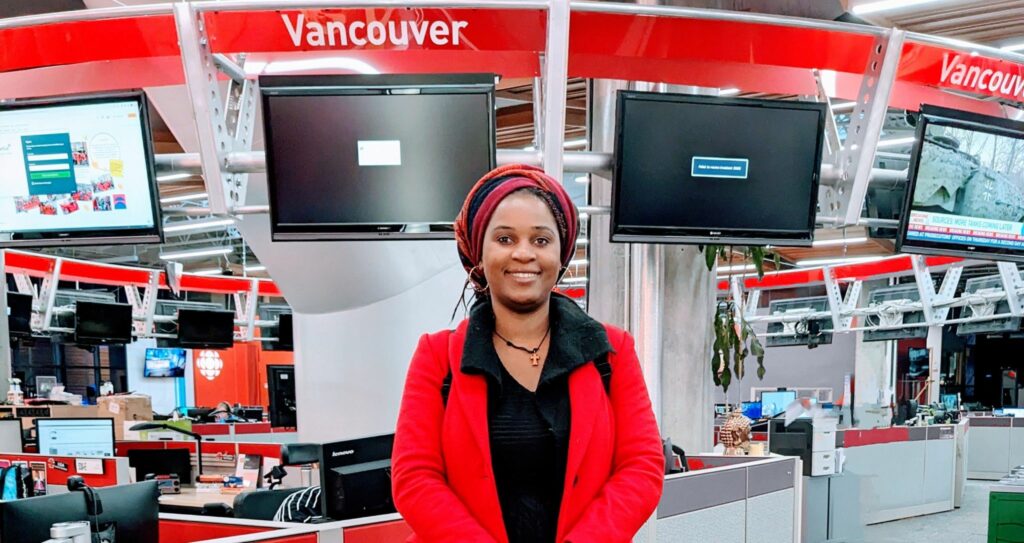
Marie Therese Atsena Abogo, Ph.D. is an Anthropologist, Consultant, and Professor in Humanities and Social Sciences. In this presentation, Marie-Therese discusses her fieldwork experience with the UN Mission in Mali.
13.Jennie Lorenzen, Nana Alassane Toure and Bassirou Gay (2019). “Women’s Participation in Peace and Reconciliation Processes in Mali : Perspectives from Segou, Mopti and Tombouctou”. Peace Research Institute of Oslo (PRIO).
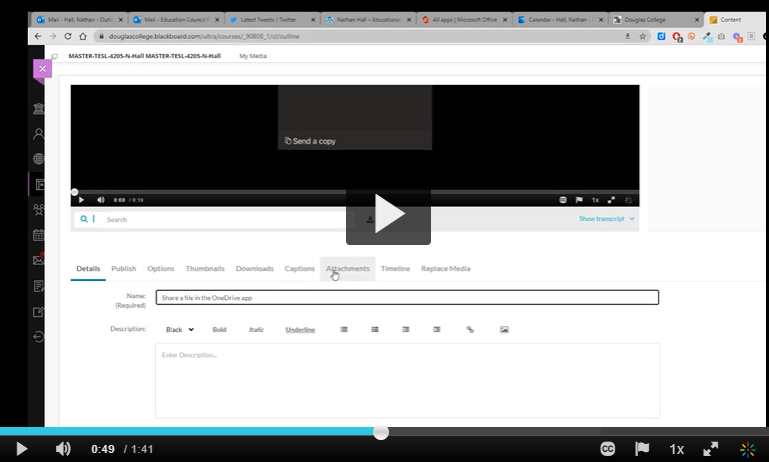
As we start a new semester, it is time once again to think about how we are welcoming our students to the school and into our classrooms. One way to do this is through a welcome email before the class starts. You may also consider adding a link to a welcome video to give students a chance to see and hear you before the start of the term. The easiest way to do this is through uploading and sharing the video from OneDrive. This video will take you through the steps on uploading, changing the settings, and getting a shareable link. The video is an example of this since it is hosted on OneDrive.
One of the tools we have access to at Douglas College is Camtasia. Camtasia is a powerful screen recording and editing software that normally costs hundreds of dollars. While it can seem complicated to use, it really isn’t that hard to master. For most people, there are some simple things you can do to create videos for your course or workspace. Here are some short videos to take you through how to record and edit your own videos.
One of the simplest ways of recording a video of your PowerPoint slides is to insert audio into each slide and then have that audio automatically play when viewed. You can then export the slides and audio as a video. Here is how to do that.
Make sure you have the PowerPoint app installed on your Mac. If you want to know how to do that for free, read these instructions.
Open or create a presentation and go to the first slide. Click on Insert in the menu bar.
Click on Audio and then Record Audio.
You might need to give permission for PowerPoint to use your microphone. Click OK
Click on the record button to start recording
Click on the stop button to stop recording
Click on Insert to add the audio to your slide
Click and drag the speaker icon to somewhere on the slide.
Click on Playback in the menu bar and then click on the dropdown menu next to Start and choose Automatically.
Once you have recorded audio for all of your slides, click on File and then Export.
Next to File Format, choose MP4. Next to Quality, choose Internet Quality. Click on Export.
Make sure you save your presentation as well. If you save it to your Douglas College OneDrive account, you can also share that presentation.
One of the simplest ways of recording a video of your PowerPoint slides is to insert audio into each slide and then have that audio automatically play when viewed. You can then export the slides and audio as a video. Here is how to do that.
Make sure you have the PowerPoint app installed on your Windows computer. If you want to know how to do that for free, read these instructions.
Open or create a presentation and go to the first slide. Click on Insert in the menu bar.
Click on Audio and the Record Audio.
Type in a name (optional) and then click on the record button to start recording.
When you are finished recording for that slide, click on the stop button and then OK.
Click and drag the speaker icon to somewhere on the slide.
Click on Playback in the menu bar and then click on the dropdown menu next to Start and choose Automatically.
Once you have recorded audio for all of your slides, click on File.
Click on Export, Create a Video, choose HD (720p), and the Create Video.
Make sure you save your presentation as well. If you save it to your Douglas College OneDrive account, you can also share that presentation.
Kaltura is a video hosting service we have access to at Douglas College. It works in a similar way that YouTube does, but it is hosted in Canada and has a number of security features that restrict who has access.
Why does Douglas College use Kaltura?
As mentioned above, the privacy and security features help the college maintain privacy compliance. It also is a lot less expensive than hosting the videos using Blackboard or other cloud services. In fact, our Blackboard access only has 500mb of storage space per course. That might be enough to host one or two videos at most on Blackboard. Kaltura gives users a lot of space to host their videos without worrying about taking up Blackboard space.
What are some of the main features of Kaltura?
Other than hosting streaming video, Kaltura also has:
machine-generated captions that can be manually edited;
a way of recording videos and screencasts;
the chance to create interactive videos with questions;
the ability to bookmark different sections of videos to give users the ability to skip to different parts of the video;
a video editor;
the tools to create video playlists;
and more!
What is the difference between My Media and Media Gallery?
This can sometimes be confusing for new users, but it basically goes like this.
My Media = a personal space for each user to host their own videos. No one other than yourself has access to this space.
Media Gallery = a space within each class that everyone in that class has access to. This is where the teacher, and even the students, can share videos they are hosting in their My Media space with the rest of the class. No videos are actually stored in the Media Gallery. It is only a space to share videos.
How do I access the My Media space?
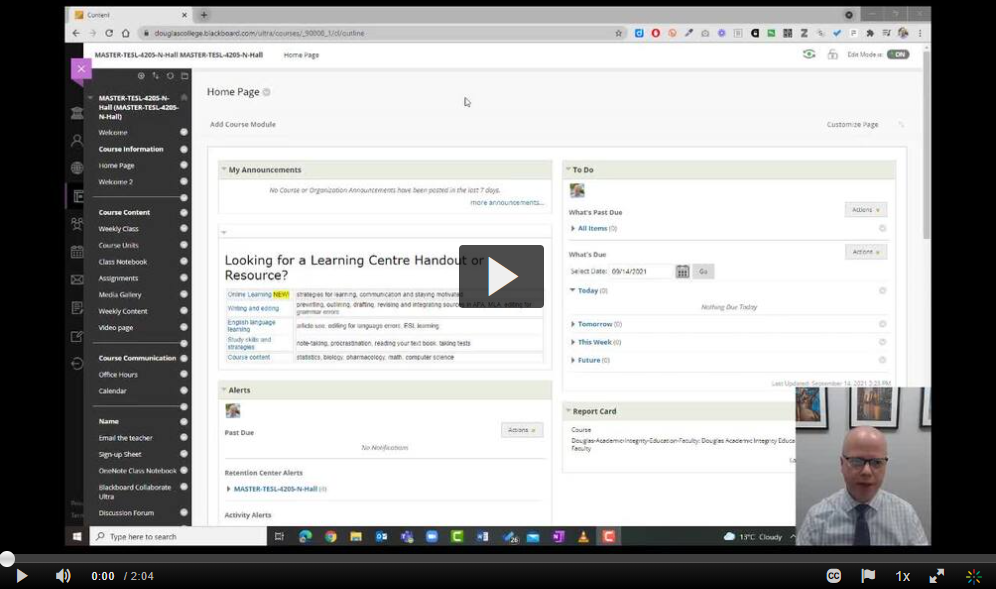
The easiest way is to create a My Media link in your course module area. When someone in that class clicks on the link, either teacher or student, Kaltura looks at who clicked on it and directs them to that person’s own My Media space. No one would be able to access your My Media space except you.
Here is how to add a My Media link to your course module page.
How do I add videos to My Media?
There are two main ways of getting videos to My Media: upload and record.
Here is how you can upload a video to My Media
What is the difference between Express Capture and Kaltura Capture?
There are two ways to record video with Kaltura.
Express Capture is a simple webcam video recording that doesn’t require any installed software. It simply uses your web browser (e.g. Mozilla Firefox) to record a webcam video with sound.
Kaltura Capture is a program you download from Kaltura and install on your computer. It can be used to record screencasts, videos with both a webcam and screen recording. It then uploads those videos to your My Media section of Kaltura.
Here is how to use Express Capture
Here is how to use Kaltura Capture
How do I add captions to my videos?
Kaltura can create machine-generated captions of your videos which can then be edited. The captioning has increasingly gotten better as more people use the service. After saying that, you will likely also want to edit the captions after Kaltura has done its job.
Here is how you can add machine-generated captions and then edit them.
Hopefully that will get you started with Kaltura. In a future post, I will share how to take advantage of the more advanced features of Kaltura.