Fixing a problem with YouTube videos in PowerPoint slides

Uh oh. Why is the YouTube link not working? (See below)

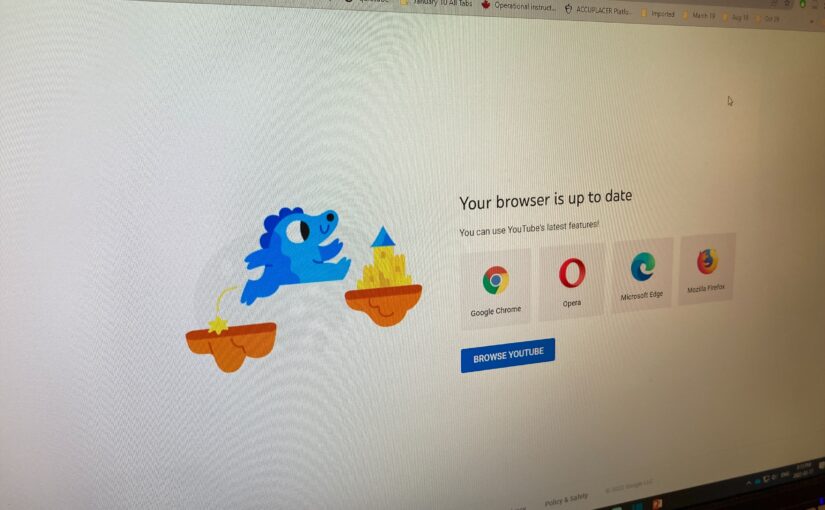
If you ever use YouTube videos in your PowerPoint slides, you may have run across the screen above recently. It is a documented problem with the desktop version of PowerPoint (i.e. PowerPoint installed on your computer) and YouTube links. If you use try to click on a link in your slides while in the desktop version of PowerPoint, the link takes you the screen pictured above.

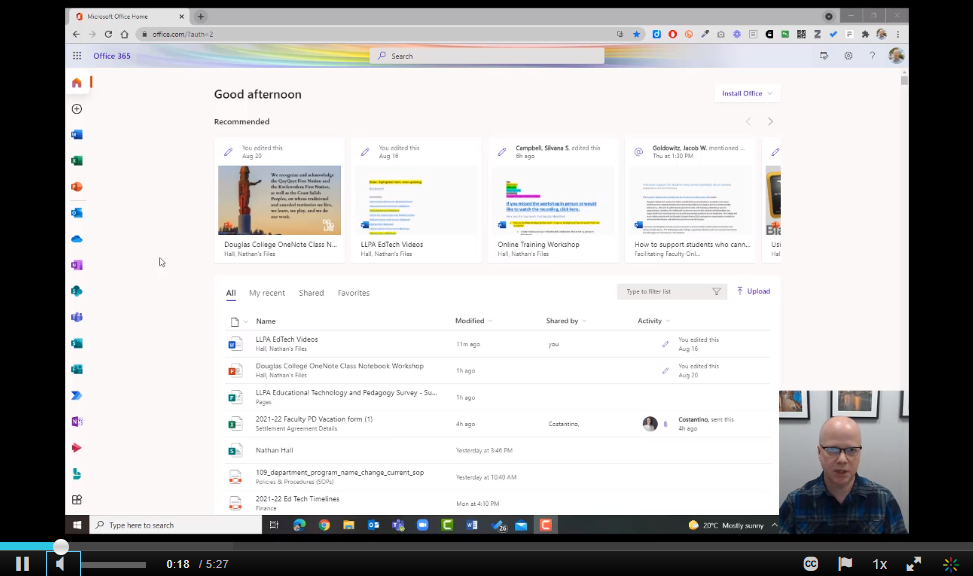
There are two main ways to solve this. Both are pretty easy to do, but one has a distinct advantage over the other. Watch the video below to learn more (bonus: learn how I have students do their presentations in my classes when they have PowerPoint slides).

I should also thank Michelle Henderson for alerting me to this issue and one of the fixes for this problem.

Recording audio for PowerPoint slides and exporting as a video (Mac)

One of the simplest ways of recording a video of your PowerPoint slides is to insert audio into each slide and then have that audio automatically play when viewed. You can then export the slides and audio as a video. Here is how to do that.

  1. Make sure you have the PowerPoint app installed on your Mac. If you want to know how to do that for free, read these instructions.
  2. Open or create a presentation and go to the first slide. Click on Insert in the menu bar.​
  3. Click on Audio and then Record Audio.​
  4. You might need to give permission for PowerPoint to use your microphone. Click OK
  5. Click on the record button to start recording
  6. Click on the stop button to stop recording
  7. Click on Insert to add the audio to your slide
  8. Click and drag the speaker icon to somewhere on the slide.​
  9. Click on Playback in the menu bar and then click on the dropdown menu next to Start and choose Automatically.​
  10. Once you have recorded audio for all of your slides, click on File and then Export.
  11. Next to File Format, choose MP4. Next to Quality, choose Internet Quality. Click on Export.
  12. Make sure you save your presentation as well. If you save it to your Douglas College OneDrive account, you can also share that presentation.

Here is an example of a shared PowerPoint presentation with audio recording for each slide. It also shows you visual steps of what is shared above.

Title slide that has the text recording audio for your powerpoint slides mac
Click on the image above to watch an example recording using this method.

Recording audio for PowerPoint slides and exporting as a video (Windows)

One of the simplest ways of recording a video of your PowerPoint slides is to insert audio into each slide and then have that audio automatically play when viewed. You can then export the slides and audio as a video. Here is how to do that.

  1. Make sure you have the PowerPoint app installed on your Windows computer. If you want to know how to do that for free, read these instructions.
  2. Open or create a presentation and go to the first slide. Click on Insert in the menu bar.​
  3. Click on Audio and the Record Audio.​
  4. Type in a name (optional) and then click on the record button to start recording.​
  5. When you are finished recording for that slide, click on the stop button and then OK.​
  6. Click and drag the speaker icon to somewhere on the slide.​
  7. Click on Playback in the menu bar and then click on the dropdown menu next to Start and choose Automatically.​
  8. Once you have recorded audio for all of your slides, click on File.​
  9. Click on ExportCreate a Video, choose HD (720p), and the Create Video.​
  10. Make sure you save your presentation as well. If you save it to your Douglas College OneDrive account, you can also share that presentation.

Here is an example of a shared PowerPoint presentation with audio recording for each slide. It also shows you visual steps of what is shared above.

Title slide that has the text recording audio for your powerpoint slides windows
Click on the image above to watch an example recording using this method.

Create live captions using PowerPoint Online (Office 365)

While Zoom and Teams both have the option of having your audio automatically captioned, Blackboard Collaborate Ultra does not.

One way to get automatic captions in your classroom or in tools like Collaborate is to use PowerPoint Online. Click on the image below to watch a video showing you how you can even use this in your face-to-face classes to caption what you are saying.

Screen shot of the video. Click on the image to get the video.