Using Microsoft Stream to record a screencast

Microsoft has made some helpful updates to their video storage and streaming service Stream which has made it possible to create and share screen recordings with or without webcam videos. Here are some of the key features

  • No need to download any software. Simply record directly from a browser like Google Chrome.
  • Records your screen, audio, and your webcam.
  • Stores files in OneDrive. Videos are ready as soon as your are done recording.
  • Can have captions automatically generated with a transcript.
  • Can add chapters to make it easier to find sections of the video.
  • Can be embedded in a Blackboard page.

I find this tool really useful for giving video guidance to people who email with me questions that are easier to demonstrate than to give written instructions. I simply do a quick recording, grab the share link, and paste it in an email.

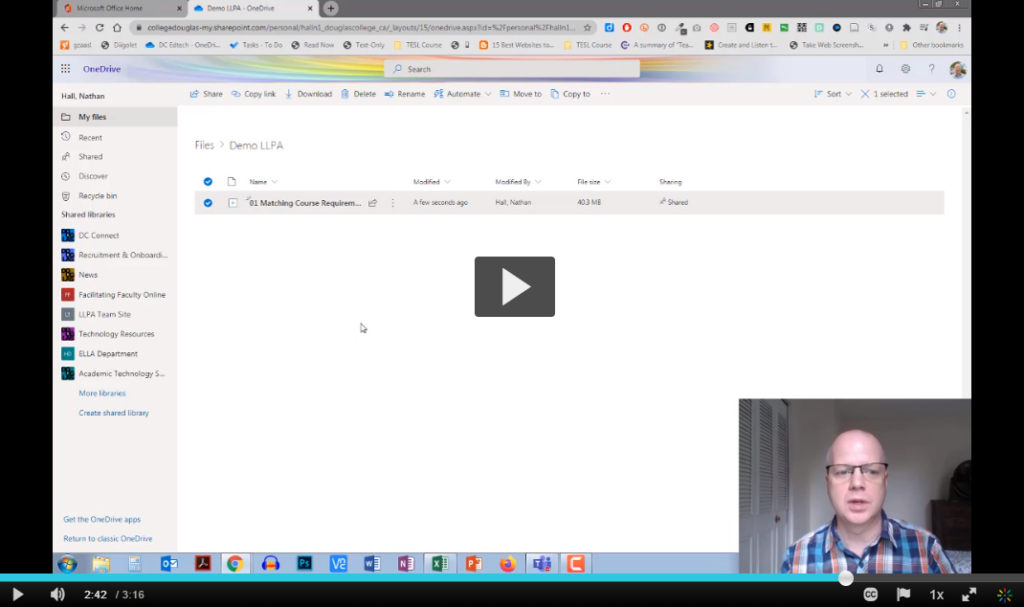
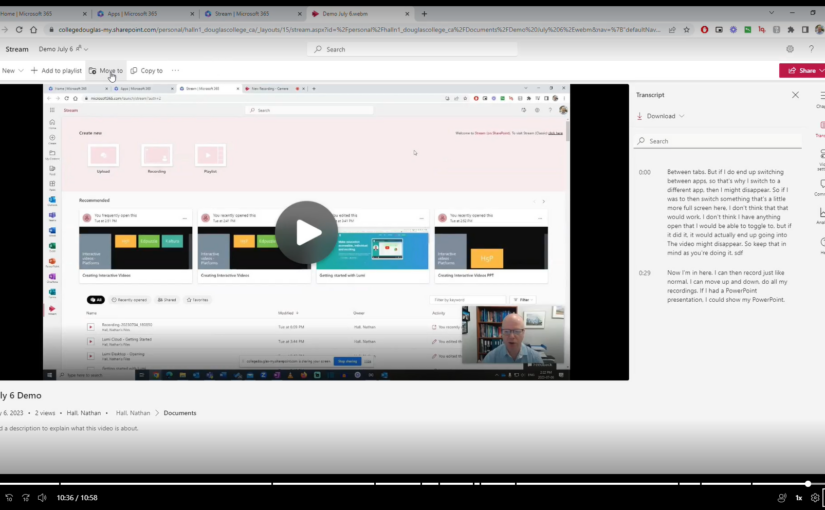
Here is a video on how to use it. You can also use the chapters to skip around.

Screenshot of the

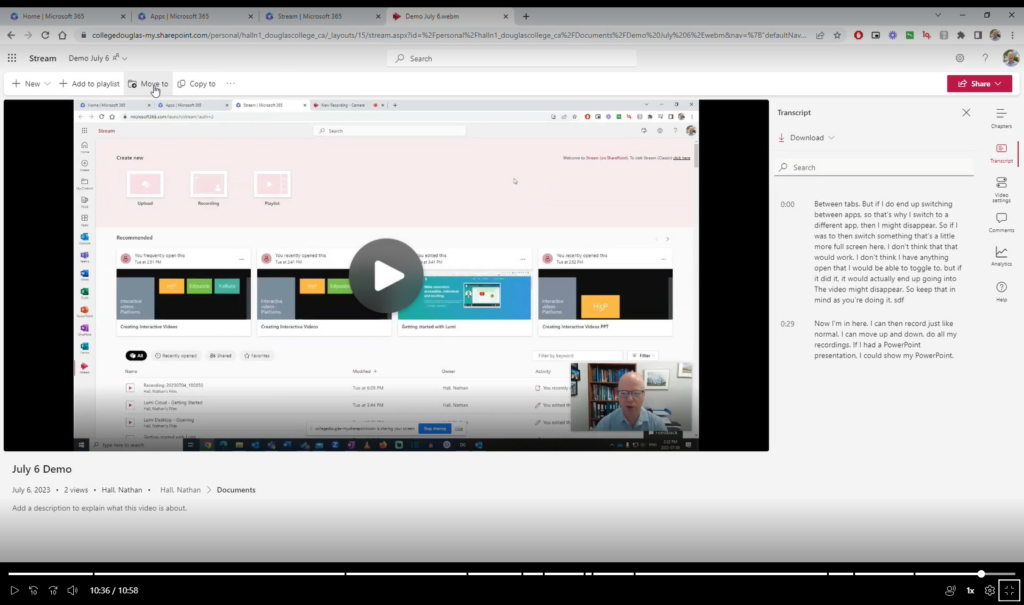
Click on the image to watch the video

Creating a welcome video for students and sharing it through OneDrive

A welcome sign in script-style font on a wooden wall.
Photo by Katherine Hood on Unsplash

As we start a new semester, it is time once again to think about how we are welcoming our students to the school and into our classrooms. One way to do this is through a welcome email before the class starts. You may also consider adding a link to a welcome video to give students a chance to see and hear you before the start of the term. The easiest way to do this is through uploading and sharing the video from OneDrive. This video will take you through the steps on uploading, changing the settings, and getting a shareable link. The video is an example of this since it is hosted on OneDrive.

Click on the image below to watch the video.

Fixing a problem with YouTube videos in PowerPoint slides

Uh oh. Why is the YouTube link not working? (See below)

If you ever use YouTube videos in your PowerPoint slides, you may have run across the screen above recently. It is a documented problem with the desktop version of PowerPoint (i.e. PowerPoint installed on your computer) and YouTube links. If you use try to click on a link in your slides while in the desktop version of PowerPoint, the link takes you the screen pictured above.

There are two main ways to solve this. Both are pretty easy to do, but one has a distinct advantage over the other. Watch the video below to learn more (bonus: learn how I have students do their presentations in my classes when they have PowerPoint slides).

I should also thank Michelle Henderson for alerting me to this issue and one of the fixes for this problem.

Recording audio for PowerPoint slides and exporting as a video (Windows)

One of the simplest ways of recording a video of your PowerPoint slides is to insert audio into each slide and then have that audio automatically play when viewed. You can then export the slides and audio as a video. Here is how to do that.

  1. Make sure you have the PowerPoint app installed on your Windows computer. If you want to know how to do that for free, read these instructions.
  2. Open or create a presentation and go to the first slide. Click on Insert in the menu bar.​
  3. Click on Audio and the Record Audio.​
  4. Type in a name (optional) and then click on the record button to start recording.​
  5. When you are finished recording for that slide, click on the stop button and then OK.​
  6. Click and drag the speaker icon to somewhere on the slide.​
  7. Click on Playback in the menu bar and then click on the dropdown menu next to Start and choose Automatically.​
  8. Once you have recorded audio for all of your slides, click on File.​
  9. Click on ExportCreate a Video, choose HD (720p), and the Create Video.​
  10. Make sure you save your presentation as well. If you save it to your Douglas College OneDrive account, you can also share that presentation.

Here is an example of a shared PowerPoint presentation with audio recording for each slide. It also shows you visual steps of what is shared above.

Title slide that has the text recording audio for your powerpoint slides windows
Click on the image above to watch an example recording using this method.

Recording: Students Working Together with MS Office 365 and Blackboard

Title slide from the presentation. It says, "Students Working Together with MS Office 365 and Blackboard" Douglas College. Nathan Hall
Click on the image above to access the recording from the session.

Thank you to everyone who was able to attend the session last Wednesday on Office 365 and Blackboard. The recording can be found by clicking the title slide above. The slides can be located here.

Related resources:

OneDrive

InformationExamples
Share PowerPoint slides in OneDriveLLPA 1100 Week One – Design
Share a Word document in review modeSetting up a positive learning environment in Zoom
Upload and share a video in OneDriveSTSU 1100: An introduction to Office 365 and Class Notebook
Use the Microsoft OneDrive app to scan pages ​Example scan to PDF
Using shared folders in OneDrive ​Example shared folder
Record Video in the iOS OneDrive App ​Example video recording

OneNote and Class Notebook

Information
Overview of Class Notebook  ​
OneNote Class Notebook Create Distribute Review ​​
Create and share a OneNote notebook with students ​​
Create a Group Space with OneNote Class Notebook ​​
Add a Class Notebook to your Blackboard course ​​
Create Sections and Section Groups in Class Notebook ​​
Insert Items into a Page in Class Notebook ​​

Bookings

Information
Create an online booking page for office hours using Microsoft Bookings

Sway

Information
Convert a Word document into a webpage

Whiteboard

Information
The new and improved Microsoft Whiteboard

Downloading your Blackboard Collaborate recordings

You would have received a couple of messages recently about Blackboard Collaborate recordings. The summary is this:

  • The amount of Collaborate recordings has exceeded the storage capacity we have with Blackboard and are being charged overage fees.
  • Those fees are costing Douglas College $11,000 per month! 😳
  • A very large number of those recordings have never been watched.
  • Any Collaborate recordings created before April 30, 2021 will be deleted on November 30, 2021.

What are your options?

  • If you don’t care about those recordings, you don’t have to do anything. They will be removed automatically.
  • If you have any recordings you would like to save, follow the instructions below.
  • If you need assistance, reach out to me before November 30.

Saving Collaborate recordings to your computer

Saving Collaborate recordings to your computer

Uploading your recordings to OneDrive

Uploading your recordings to OneDrive

Uploading your recordings to Kaltura

Having students scan pages using the Microsoft OneDrive app on their phones or tablets

If you want your students to scan their work to share with you electronically, you can simply have them use the free Microsoft OneDrive app on their phone or tablet.

Here is a video you can share with your students on how to install the OneDrive app and then scan a document and save it to OneDrive.

Here is a video on how students can share a file with you using the OneDrive app.

Feel free to share these videos with your students.