Every month, the Blackboard Ultra Champions group meets to discuss topics related to supporting those who are making the switch to Blackboard Ultra. This group is made up of Blackboard Ultra users who share ideas and questions with the goal of supporting all users across the college. From time to time, we will share sections of those recorded meetings. Today’s meeting focused on the area of setting up assignments in Blackboard Ultra. Here is a 20-minute section of that meeting demonstrating some of the nuances of grading and assignment set up. Click on the image below to access that recording.
If you are teaching a face-to-face class in Winter, Summer, or Fall 2024, and will be using Blackboard to enhance or supplement your course, please register for one of the following Easy-Transition-to-Ultra sessions according to your availability. This opportunity will minimize the time and effort you need to make the transition. By the time you finish this 1-hour session, you will have the information to convert your existing Blackboard Original content into an Ultra Sandbox, Course Master, or upcoming course.
Starting September 1, 2023, the new Douglas College Grading Policy will be taking effect. The change affects the Credit Courses Letter Grades ranges and replaces the P grade with a D. These changes brings Douglas College into alignment with other post-secondary institutions.
Grade
Numerical Value
Achievement Level
A+
4.33
90% to 100%
A
4.00
85% to 89%
A-
3.67
80% to 84%
B+
3.33
77% to 79%
B
3.00
73% to 76%
B-
2.67
70% to 72%
C+
2.33
65% to 69%
C
2.00
60% to 64%
C-
1.67
55% to 59%
D
1.00
50% to 54%
F
0.00
49% an below
UN
0.00
What do I need to do with this information?
If you manually calculate your marks and grades using something like Gradekeeper or Excel, make changes to the percentage ranges for each letter grade. If you use Blackboard, make sure you use the New Letter Grade Standard DC grading schema.
What happens to my assignments on Blackboard?
The new grading schema may be currently available as an option on Blackboard when you are creating or editing assignments or tests. If it is not, it should be available by week three. Keep in mind that assignments and tests that copied over from a previous course might carry over the old grading schema. Check over all of your assignments to make sure they are using the new grading schema before making them available to students.
What if I have any questions about this?
Please reach out to the Service Desk if you want any help with this or have any questions: servicedesk@douglascollege.ca
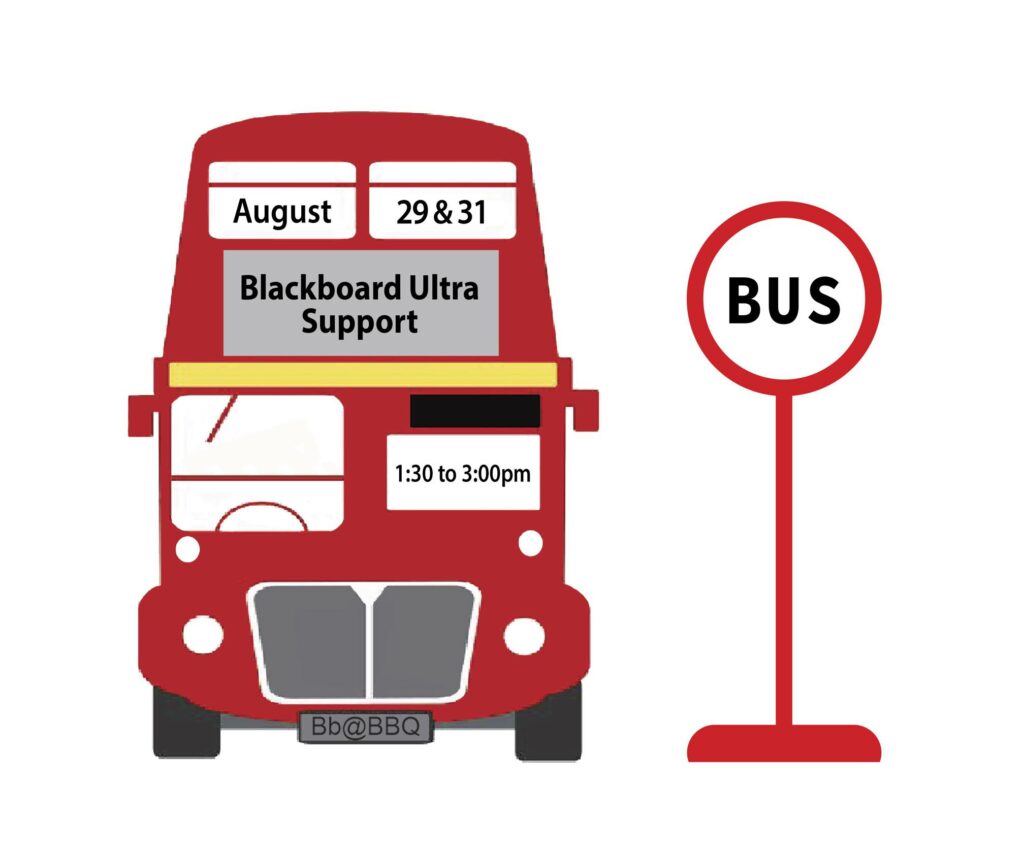
Many of you are thinking about transitioning to Blackboard Ultra in the not-too-distant future, perhaps even this Fall. To provide you with some additional help before the term starts, we will be holding a BUS (Blackboard Ultra Support)Stop event for faculty needing some specific support.
Think of it as a bit of social: Go to the BBQ, then drop by the BUS Stop for dessert and conversation with your peers about Blackboard Ultra. Have some pressing questions you need answered? Pop by! Cathy Mills (Sport Science instructor and BB Ultra Faculty Liaison) and the Learning Designer team will be there to review your questions, and give you some solid advice on how to move forward.
Here are the details:
BUS Stop: Coquitlam campus, room B2250; August 29, 1:30-3:00pm.
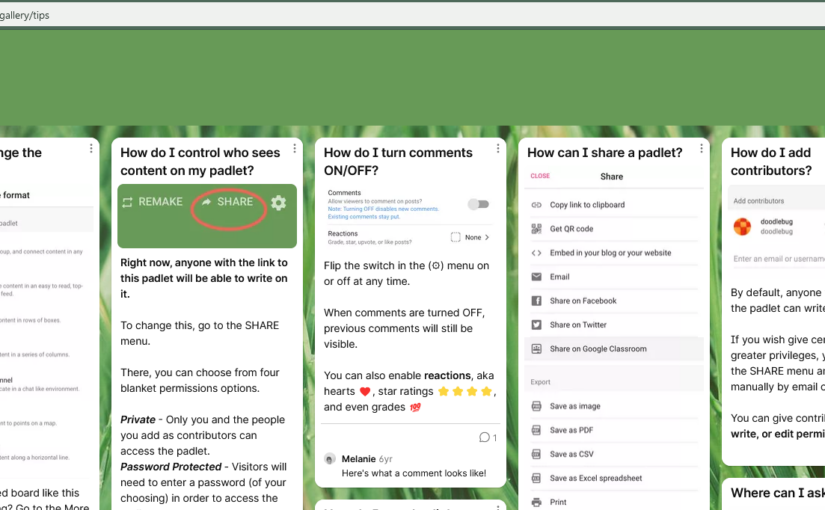
One of the newest additions to Blackboard at Douglas College is Padlet. You can use this with your students in so many creative ways and it is mobile-friendly as well.
Here is a video on:
how you can add padlet to your Blackboard course (Original and Ultra),
how you can create a padlet including recommended settings,
and what the different types of padlets looks like with examples.
Click the image above to watch the video.
Here are some example padlets:
Map style: Metro Vancouver Coffee Shops
Feel free to edit this one. Add your own favourite coffee shops. You can also add links and a description if you like. You are also welcome to rate those that are already posted.
Wall format: Padlet Tips and Tricks
This is an example from Padlet. I don’t have the rights to edit it, so it is view only.
Shelf style: Better Together Conference
This is a padlet we used for the Better Together conference to gather notes and other resources from the conference. Each session has their own column.
Stream style: Blog on the best-selling product of all time
This is another example from Padlet, so it is view only.
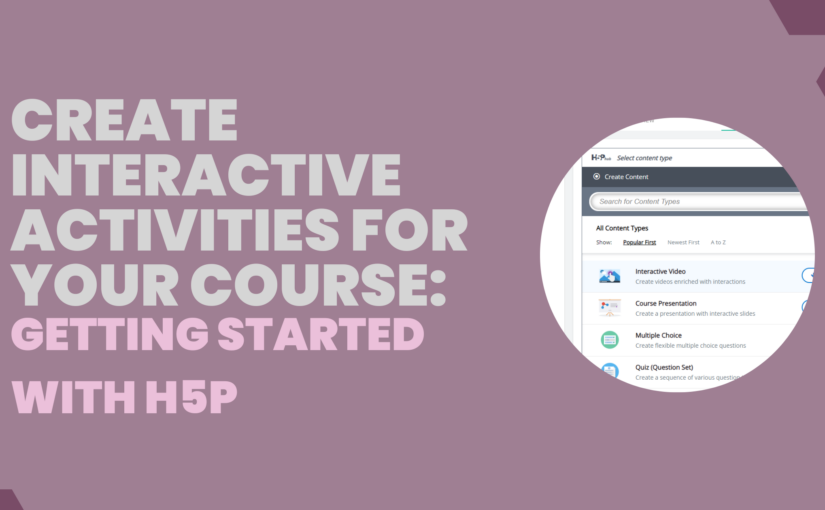
H5P is a way of creating online interactive content for your course or website. You can create these items for free, although you can also use other content already created and adapt it for your own course.
Does is work with Blackboard?
Yes! In fact there are two different ways to add H5P modules to Blackboard. You can either embed an item or you can add it as a SCORM item. More information on what that means or how that is accomplished is in the videos below.
Is it complicated to use?
Not at all. It is very user-friendly. There are also lots of support documents and videos available online. It is a popular platform for teachers to use to create interactive elements for their classes.
Are there going to be workshops/training available at Douglas College on how to use it?
Yes. Not only that, but there will be a dedicated place at Douglas College for H5P resources. More on that to come!
What can you do with H5P?
There are so many different types of content you can create using H5P and it is being updated reguarly. Go to this page and click on any of the content types listed there to see a description and example.
How do I get started?
Here are two videos I created to get you started. Click on the banner images to watch the videos.
I wanted to thank Jacob Golodwitz for introducing me to Lumi and showing me how to add H5P as a SCORM item to Blackboard.
Over the past few months, you have likely heard about the worldwide paper shortage that is affecting the ability of Douglas College to procure paper for printers and photocopiers. Staff, faculty members, and students have all been asked to reduce the amount of paper they use.
Yesterday, I was having a conversation with another faculty member about the frustrations we are all encountering as we attempt to find creative ways to complete reading and writing tasks in our classes. I started sharing some of the ways I was able to reduce the amount of paper I was using in my writing class and I thought it might be good for me to write up something to share with everyone.
This post is not meant to be an exhaustive list of ideas, but simply some ways I have made this work and also some plans on what I will be trying out in the future. Feel free to share your ideas in the comments.
The most common way I have them use Forms is to display the QR code from the form on the screen at the front of the class and students then work individually or in pairs/groups to complete the task. After they are done, I share the results on the screen, and we debrief together. Students found it simple to do and I found it easy to create. A win/win.
Student notebooks📒
Instead of photocopying things for students, think about possibly displaying things on the slides at the front of the class and then have students work in a simple lined-paper notebook which they can purchase for cheap from almost anywhere. I did this quite a bit with my students. If I wanted to keep a copy of their work for providing feedback, I would use my tablet or phone to take a photo of it and then upload the photo to Blackboard so I could give them my feedback. Some students also just took the page out of their notebook and gave it to me.
Larger printouts in groups📃
Some of the best activities this past semester involved printing a simple structure (i.e., a graphic organizer) on 11×17 sheets of paper. I would only print out one per group, which usually meant I only had to print out about 5-6 sheets total. Students would do their work in groups directly on the larger paper and then I would have them post the sheets around the room for other groups to view and provide comments. I would sometimes take photos of those and post those on Blackboard for review.
Computer labs🖥️
If I needed each student to have access to a writing task, I would book a computer lab for them to do the work individually. I could then make use of Blackboard and Office 365 to create their work and have others review it.
Whiteboards🖊️
I use the whiteboards in the classroom a lot. I bring in a few pens and have students work in groups right on the whiteboard. This obviously doesn’t work for longer tasks, but it does work for shorter writing and response activities.
Blackboard Ultra🤳
As Blackboard Ultra becomes available to all faculty, students and faculty will find its more mobile-friendly approach much better for completing in-class activities. You could have groups, or even individuals, complete shorter tasks on their phones and other mobile devices using things such as discussion forums and assignments. I plan on making good use of this in the Fall.
I hope that gives you a few ideas on how you can reduce the number of photocopies and printouts you use with your students. Feel free to reach out to ask questions or for help.
If you have ever used a paper sign-up sheet for something like choosing a time to meet or selecting a group project theme, you might consider using Blackboard Groups to do the same thing online. Here is how you can do that in Blackboard Original and with Blackboard Ultra.
Blackboard Original
Click here to watch the video
Go to your course and scroll down under Course Management and click on Users and Groups and then Groups.
Move your mouse over Create and under Group Set choose Self-Enroll.
Give it a name and a description. It might be something like Group Project Themes or Meeting Times or something like that. You can give more details in the Description area.
Next to Group is visible to students, choose Sign-up Sheet Only.
Uncheck everything under Tool Availability.
Uncheck Allow Personalization.
Give a name to the sign-up sheet. It could be the same as above. You can also put in the instructions.
Put in the maximum number of students for each item.
Put in the number of groups. The number of groups times the number of members should be equal to the number of students in your class.
Click on Submit.
If you haven’t added Groups to your menu, do that now. Go to the top of your menu and hover over the plus button at the top. Choose Tool Link, give it a name for the menu, choose Groups in Type, check the Available to Users, and then click on Submit.
You will want to now edit the name of each group to match the theme or date or whatever else you are wanting them to choose. Click on Groups and then click on the grey button next to the name of the first group. Choose Edit Group.
Rename it and then click on Submit. Continue doing this for the other groups.
Blackboard Ultra
Click here to watch the video
Open your Ultra course and click on View sets & groups under Course Groups in the left-side menu.
It might open a new group set automatically. If it doesn’t, click on New Group Set in the top-right corner.
Where it says New Group Set and the date along the top, click on that and give your group set a name and hit the enter key on your keyboard.
In the top-right corner, click on Hidden from students and then choose Visible to students.
Next to Group students, choose Self-enrollment.
You can give your group set a description and you can choose when students can access it.
Choose the number of students per group and check off Hide enrolled members if you don’t want students knowing who is in each group before they select.
Right above New Group 1, there is a plus symbol in the middle of the screen. Click on that to add new groups. Add as many groups as you would like. The number of groups times the number of members per group should equal the number of students in your class.
Click on the name of each group to edit the name to the theme, time, or whatever else you are wanting them to select. You can also add a group description for more details.
Click on the image above to access the recording from the session.
Thank you to everyone who was able to attend the session last Wednesday on Office 365 and Blackboard. The recording can be found by clicking the title slide above. The slides can be located here.